Revenue
Yolfi
Connect Yolfi to Talivia and match payments to web sessions.
Connect your Yolfi organization once to start receiving revenue in Talivia.
Connect Yolfi
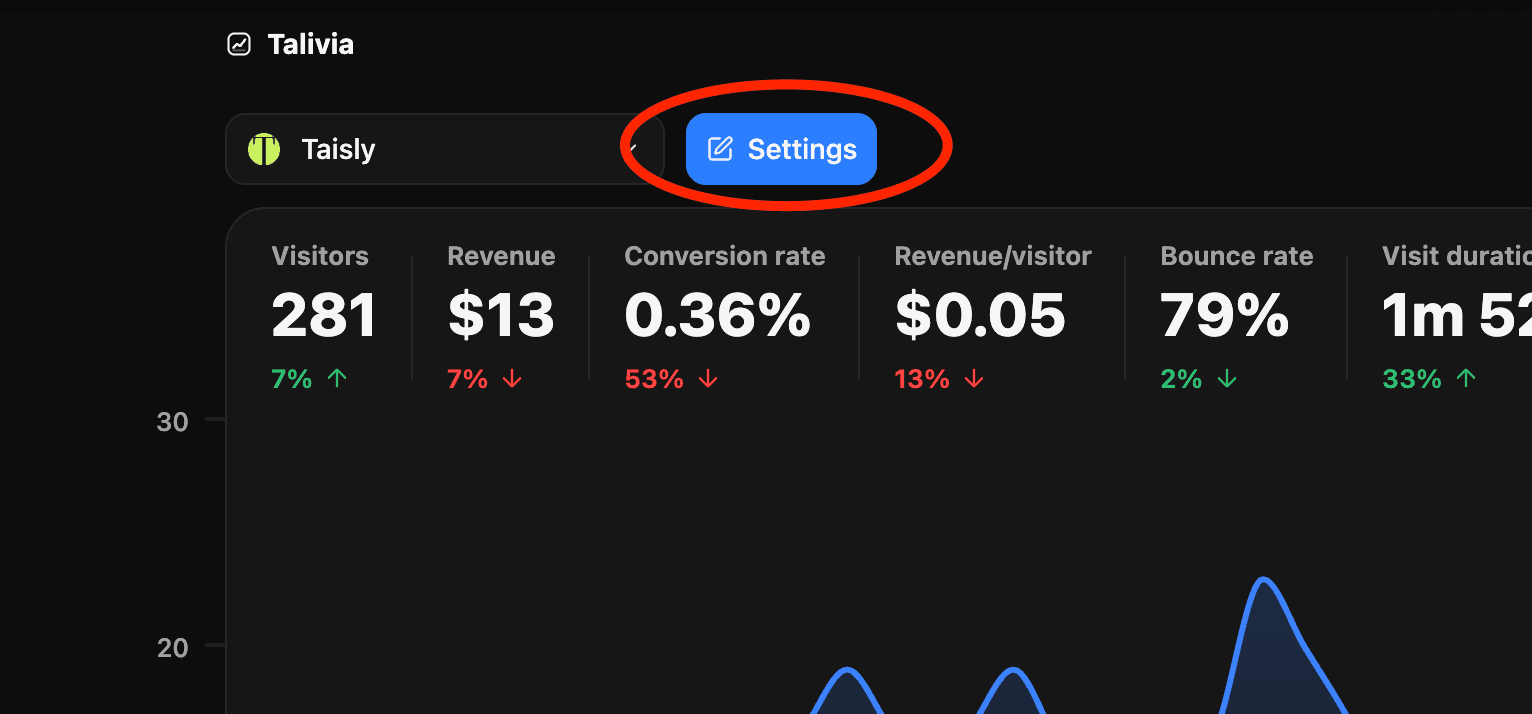
- In the Talivia dashboard, select your website and open Settings.
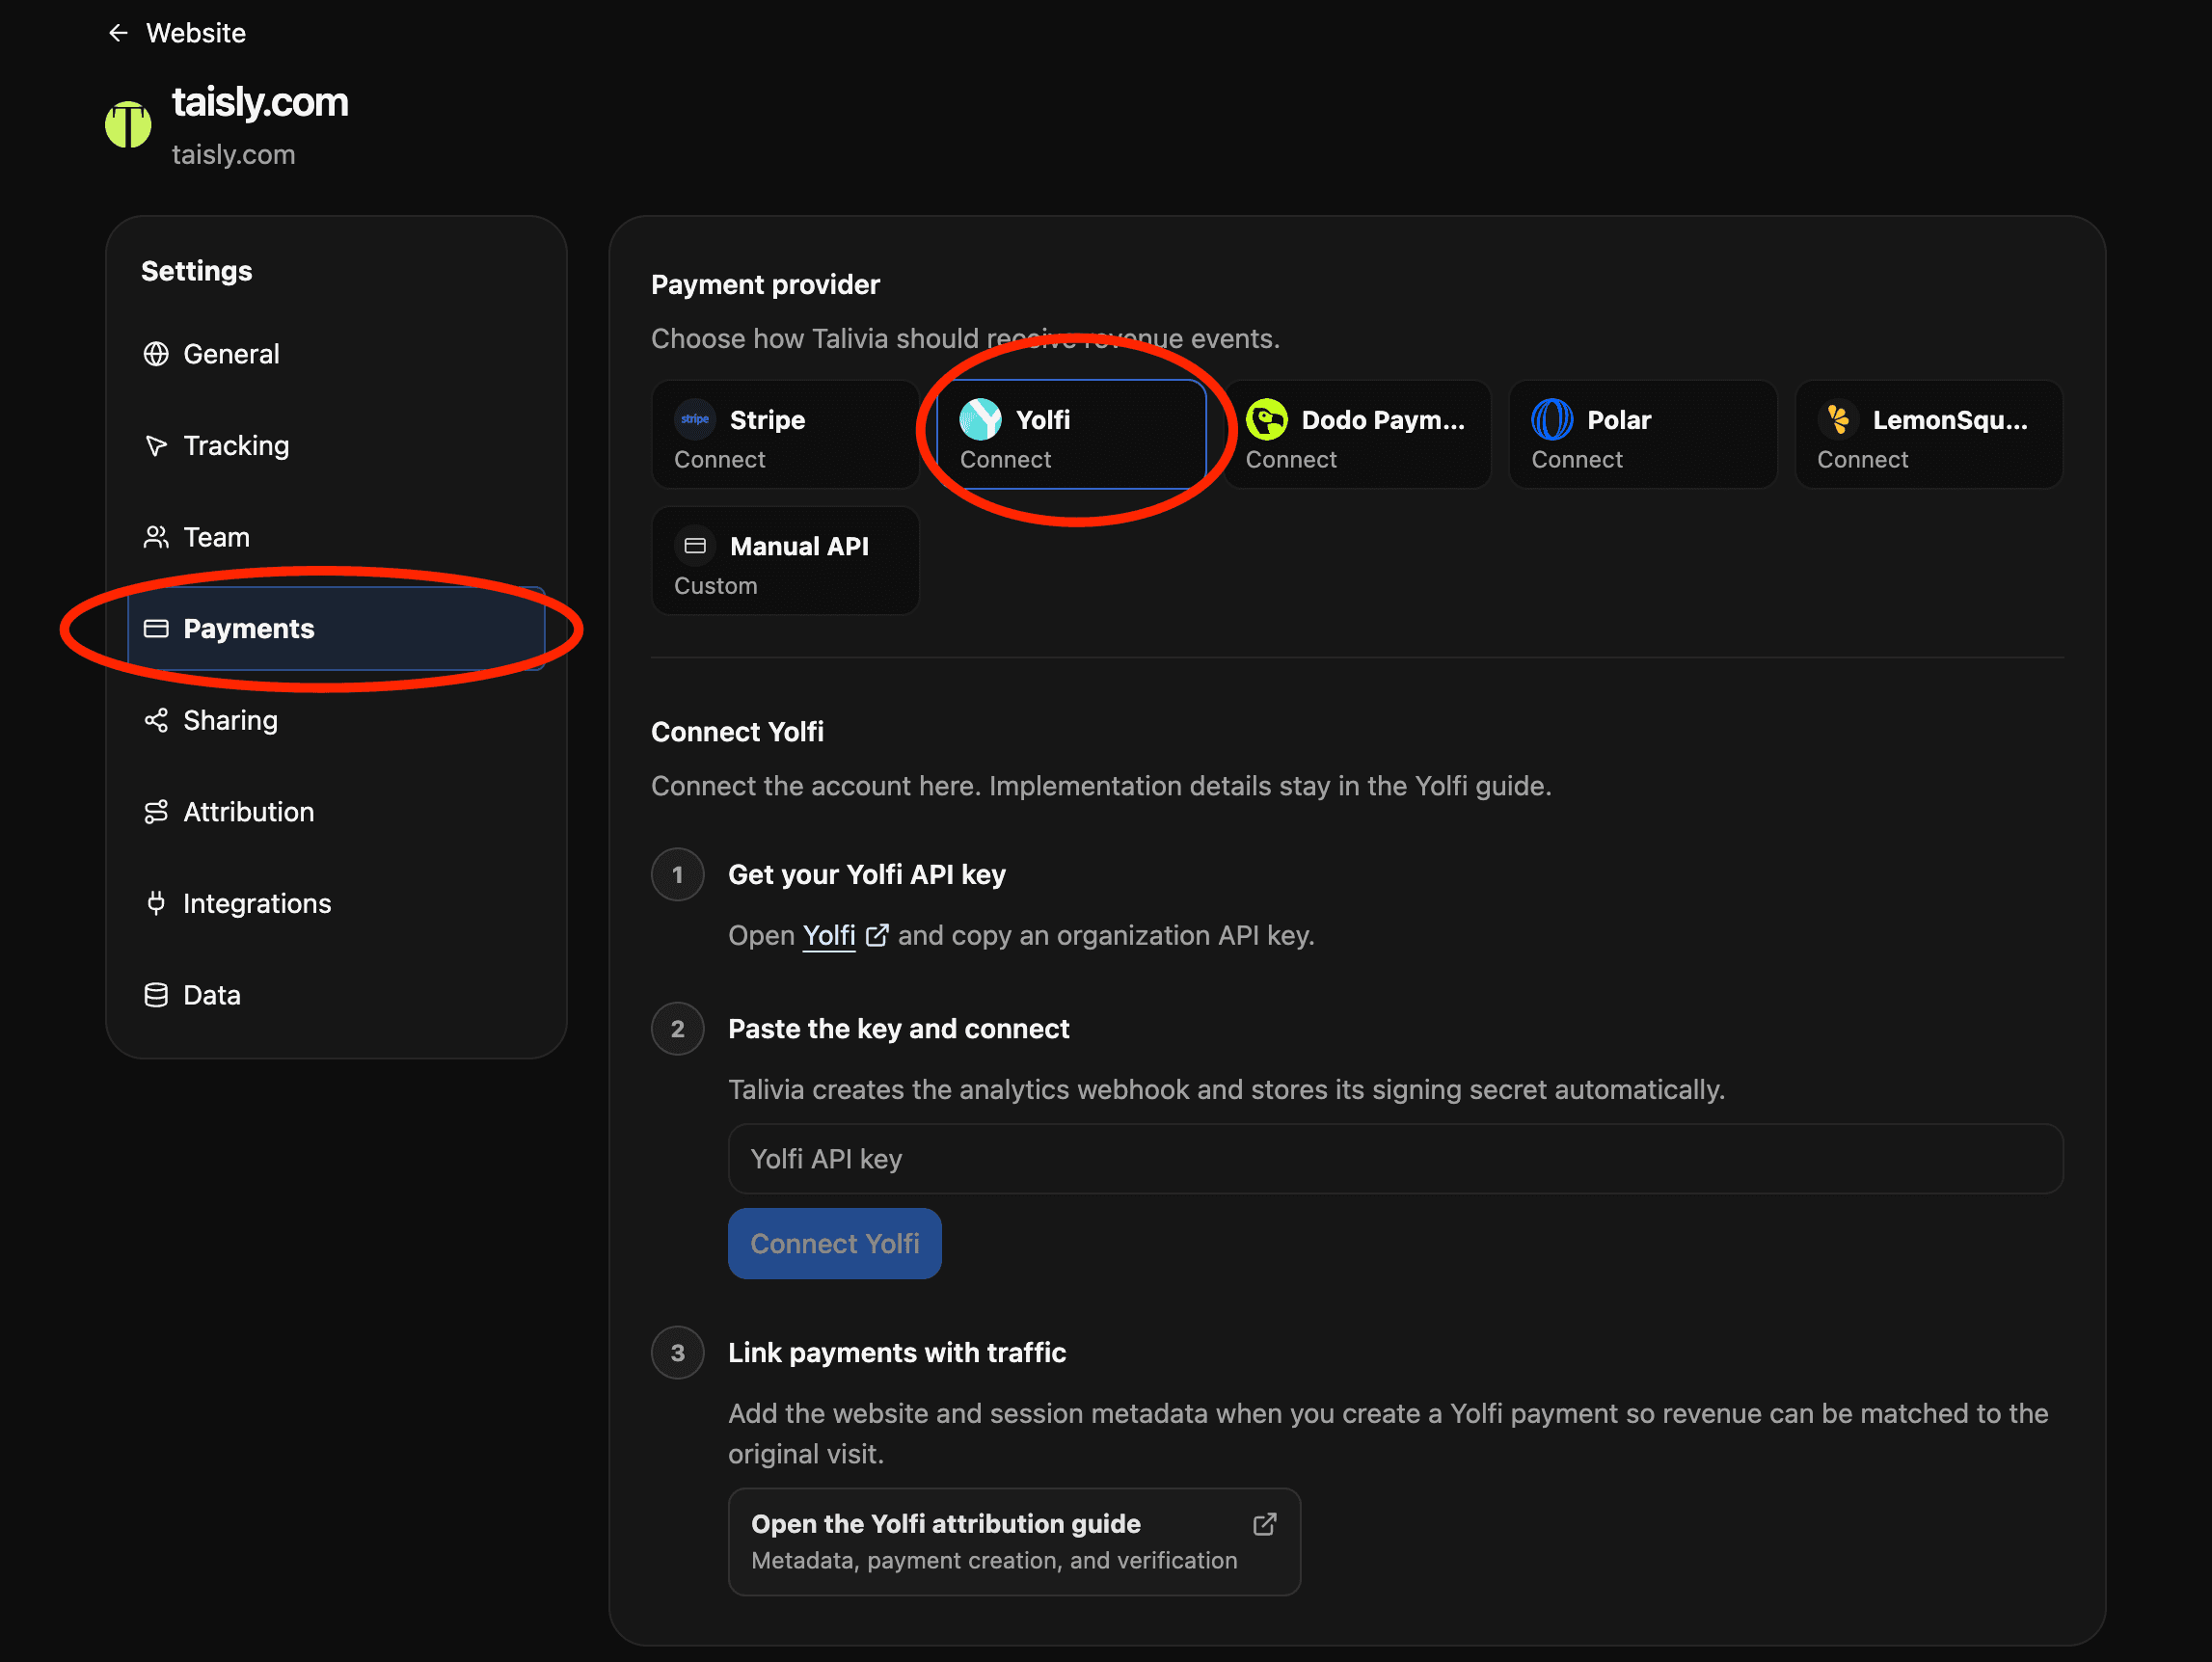
- Select Payments and choose Yolfi. Then create an API key in Yolfi, paste it into Talivia, and click Connect Yolfi.
Match payments to sessions
Choose how customers open Yolfi checkout. Both options use the Checkout Session ID from the return URL; you do not need to send Talivia metadata.
Payment LinksMatch payments from links created in the Yolfi dashboard.Checkout Session APIMatch payments from Checkout Sessions created by your backend.
Having trouble? Test your Yolfi integration.